An optocoupler across my sister's intercom button
My sister has epilepsy and lives alone in a flat in Malmö. If she has a seizure, we need to be able to get in. Until now, we couldn't.
Why this exists
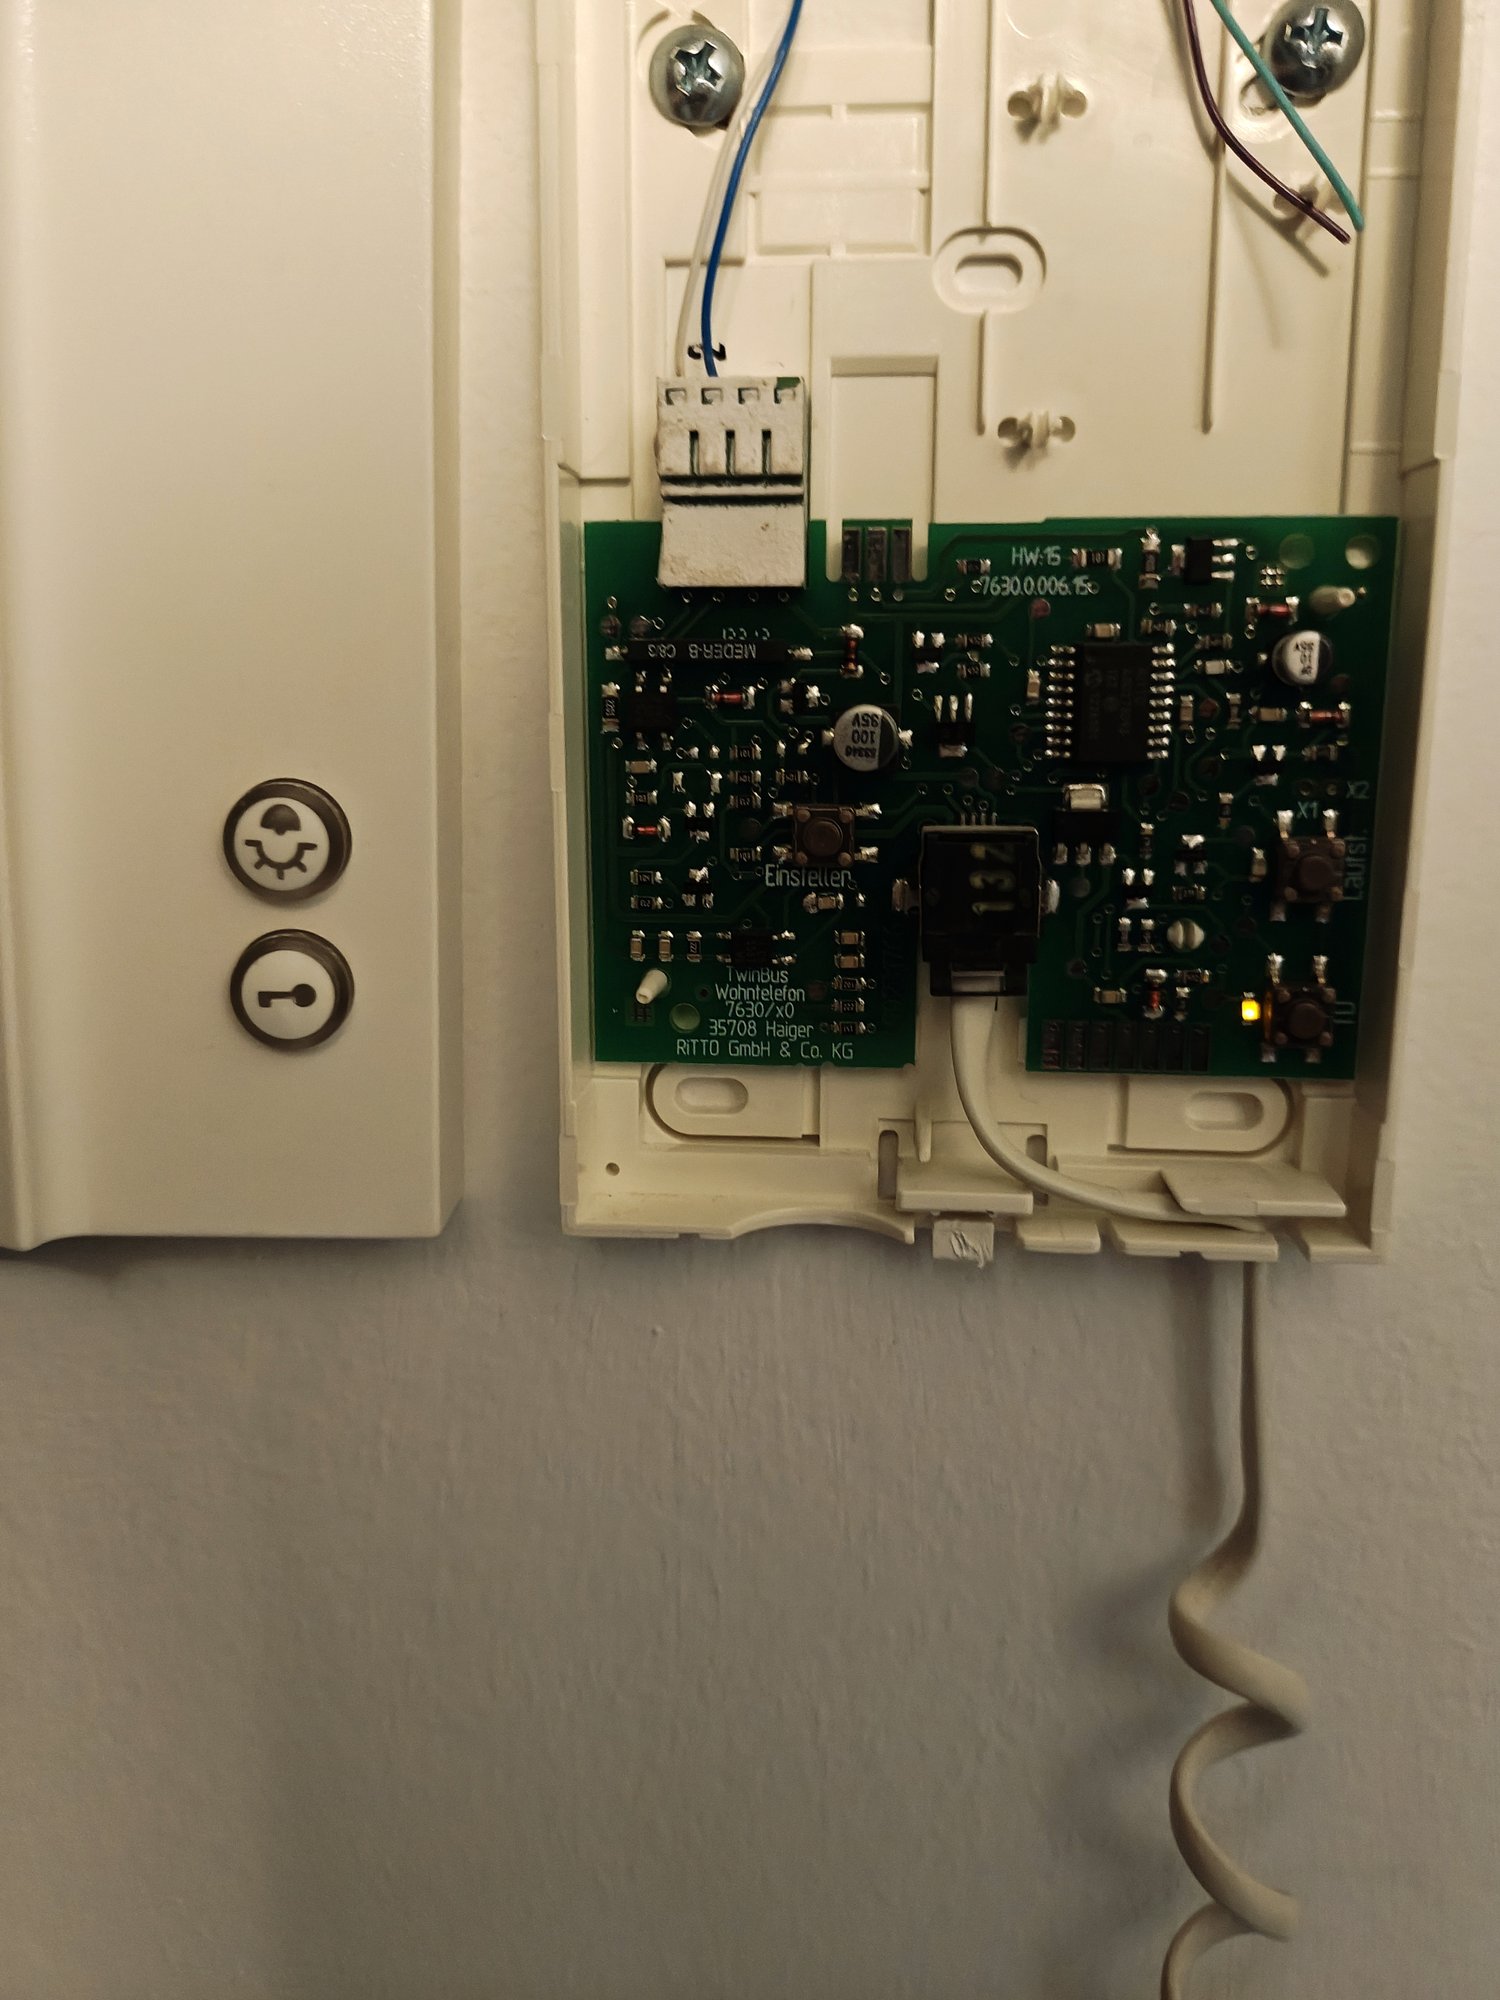
The building has a locked street gate and a locked stairwell door. Both open from a Ritto TwinBus intercom handset on her wall: the resident buzzes visitors through by pressing a door-open button on the handset. There's a key box outside her flat door for the last leg, but there's no way to fit one to the shared gates, the building association wasn't willing to help, and there's no existing app-based entry system for the intercom either.
So if she has a seizure, family arriving to help are stuck on the pavement with no way in and no way for her to buzz them through. The key box gets us past her flat door, but only if we can get to it.
The only place left to solve it is inside the flat: a small device that presses the intercom's door-open button on request from a phone.
Pressing the button with light
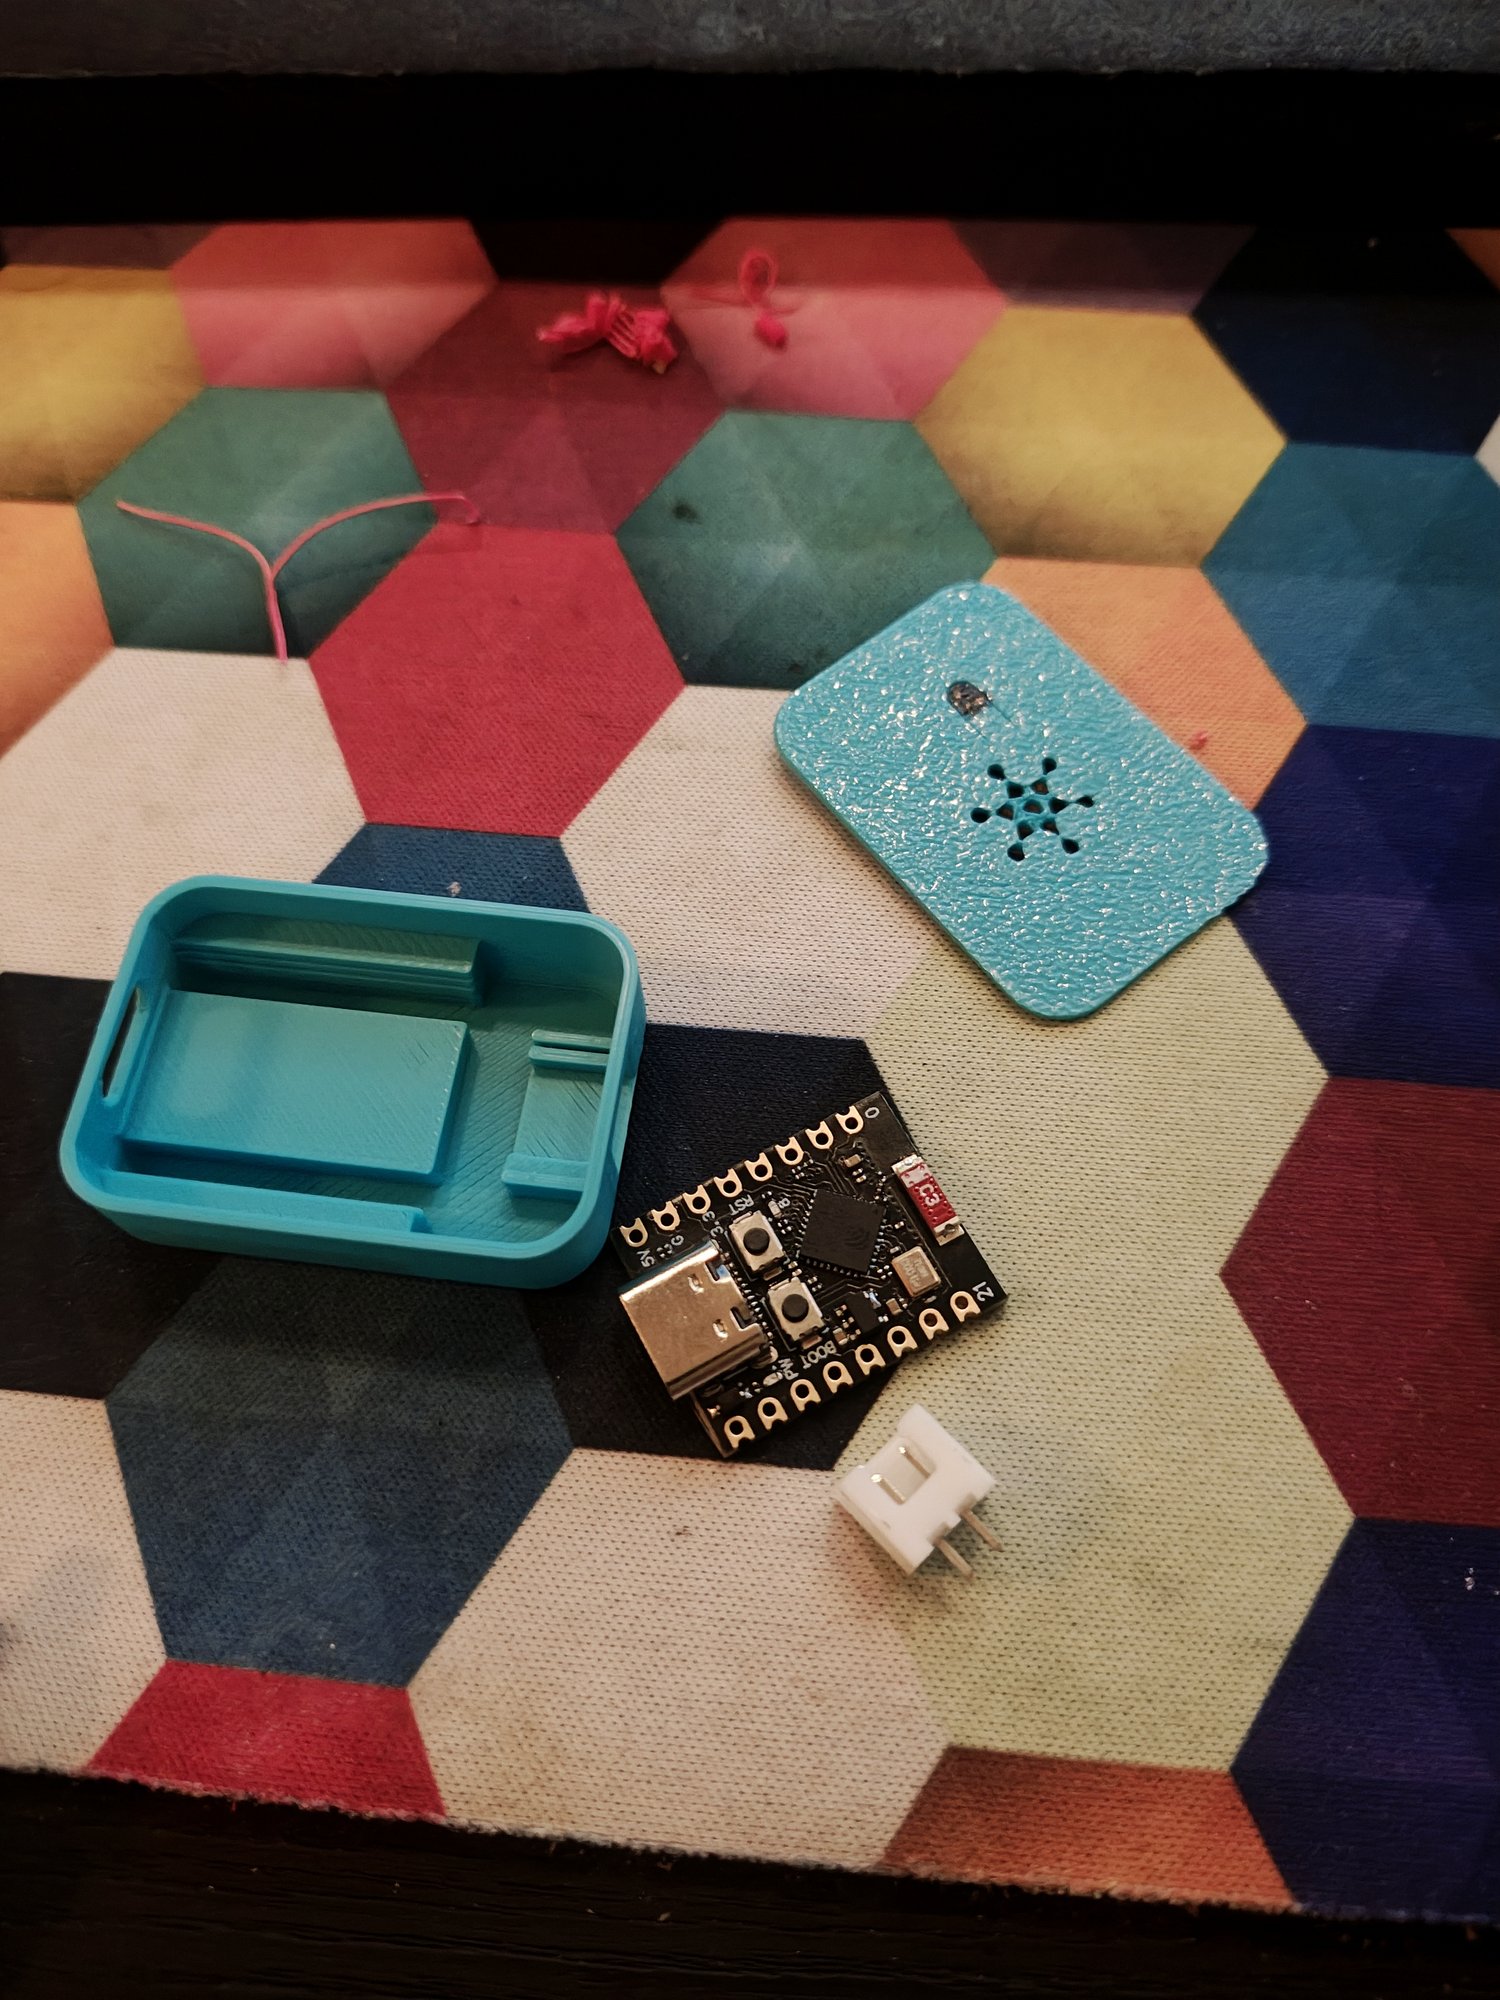
The door button on the handset is just a contact on a PCB. A pin held high, that gets pulled to ground when someone presses it. So the trick is to press it without pressing it. An ESP32-C3 sits next to the handset with a PC817 optocoupler wired across those two pads. When the ESP32 drives its GPIO high, the LED inside the optocoupler lights, the phototransistor on the other side conducts, and the intercom sees an ordinary button press.
Nothing on the intercom is cut, nothing is modified, and the two circuits share no electrical connection. The signal crosses as light. That last part is the whole reason for the optocoupler rather than a transistor or a relay: the building's shared bus and my little 3.3 V board never touch, so there is nothing I can get wrong that reaches past this one handset.
The ESP32 hosts a single-page web app on the flat's LAN. Family open it once, paste a shared token that gets stored in the browser, add the page to their home screen, and from then on it's one tap. No account to remember, no app to install from a store, and no round trip to the internet in the moments that matter.
What it deliberately doesn't do
- No cloud service. Works with the internet down, as long as the LAN is up.
- No protocol reverse engineering. Paralleling the button is protocol-agnostic and can't disturb the shared building bus, which is the one thing that must not break.
- No always-on unlock, no "hold open" mode. One endpoint, one fixed 500 ms pulse, hard-capped in firmware. A stuck-open building entrance is the worst failure mode, so every design choice defaults to closed: unpowered, crashed, or mid-boot, the door stays shut.
This is a convenience layer, not a safety system. Both it and the intercom depend on building power, so neither survives an outage. It's one tool alongside the key box and telling the neighbours, not a substitute for either.
What's next
Firmware is flashed and the case is printed. What's left happens at her flat: pop the handset off the wall, solder two thin wires across the button pads, cable-tie the ESP32 next to it, and hand family the token.
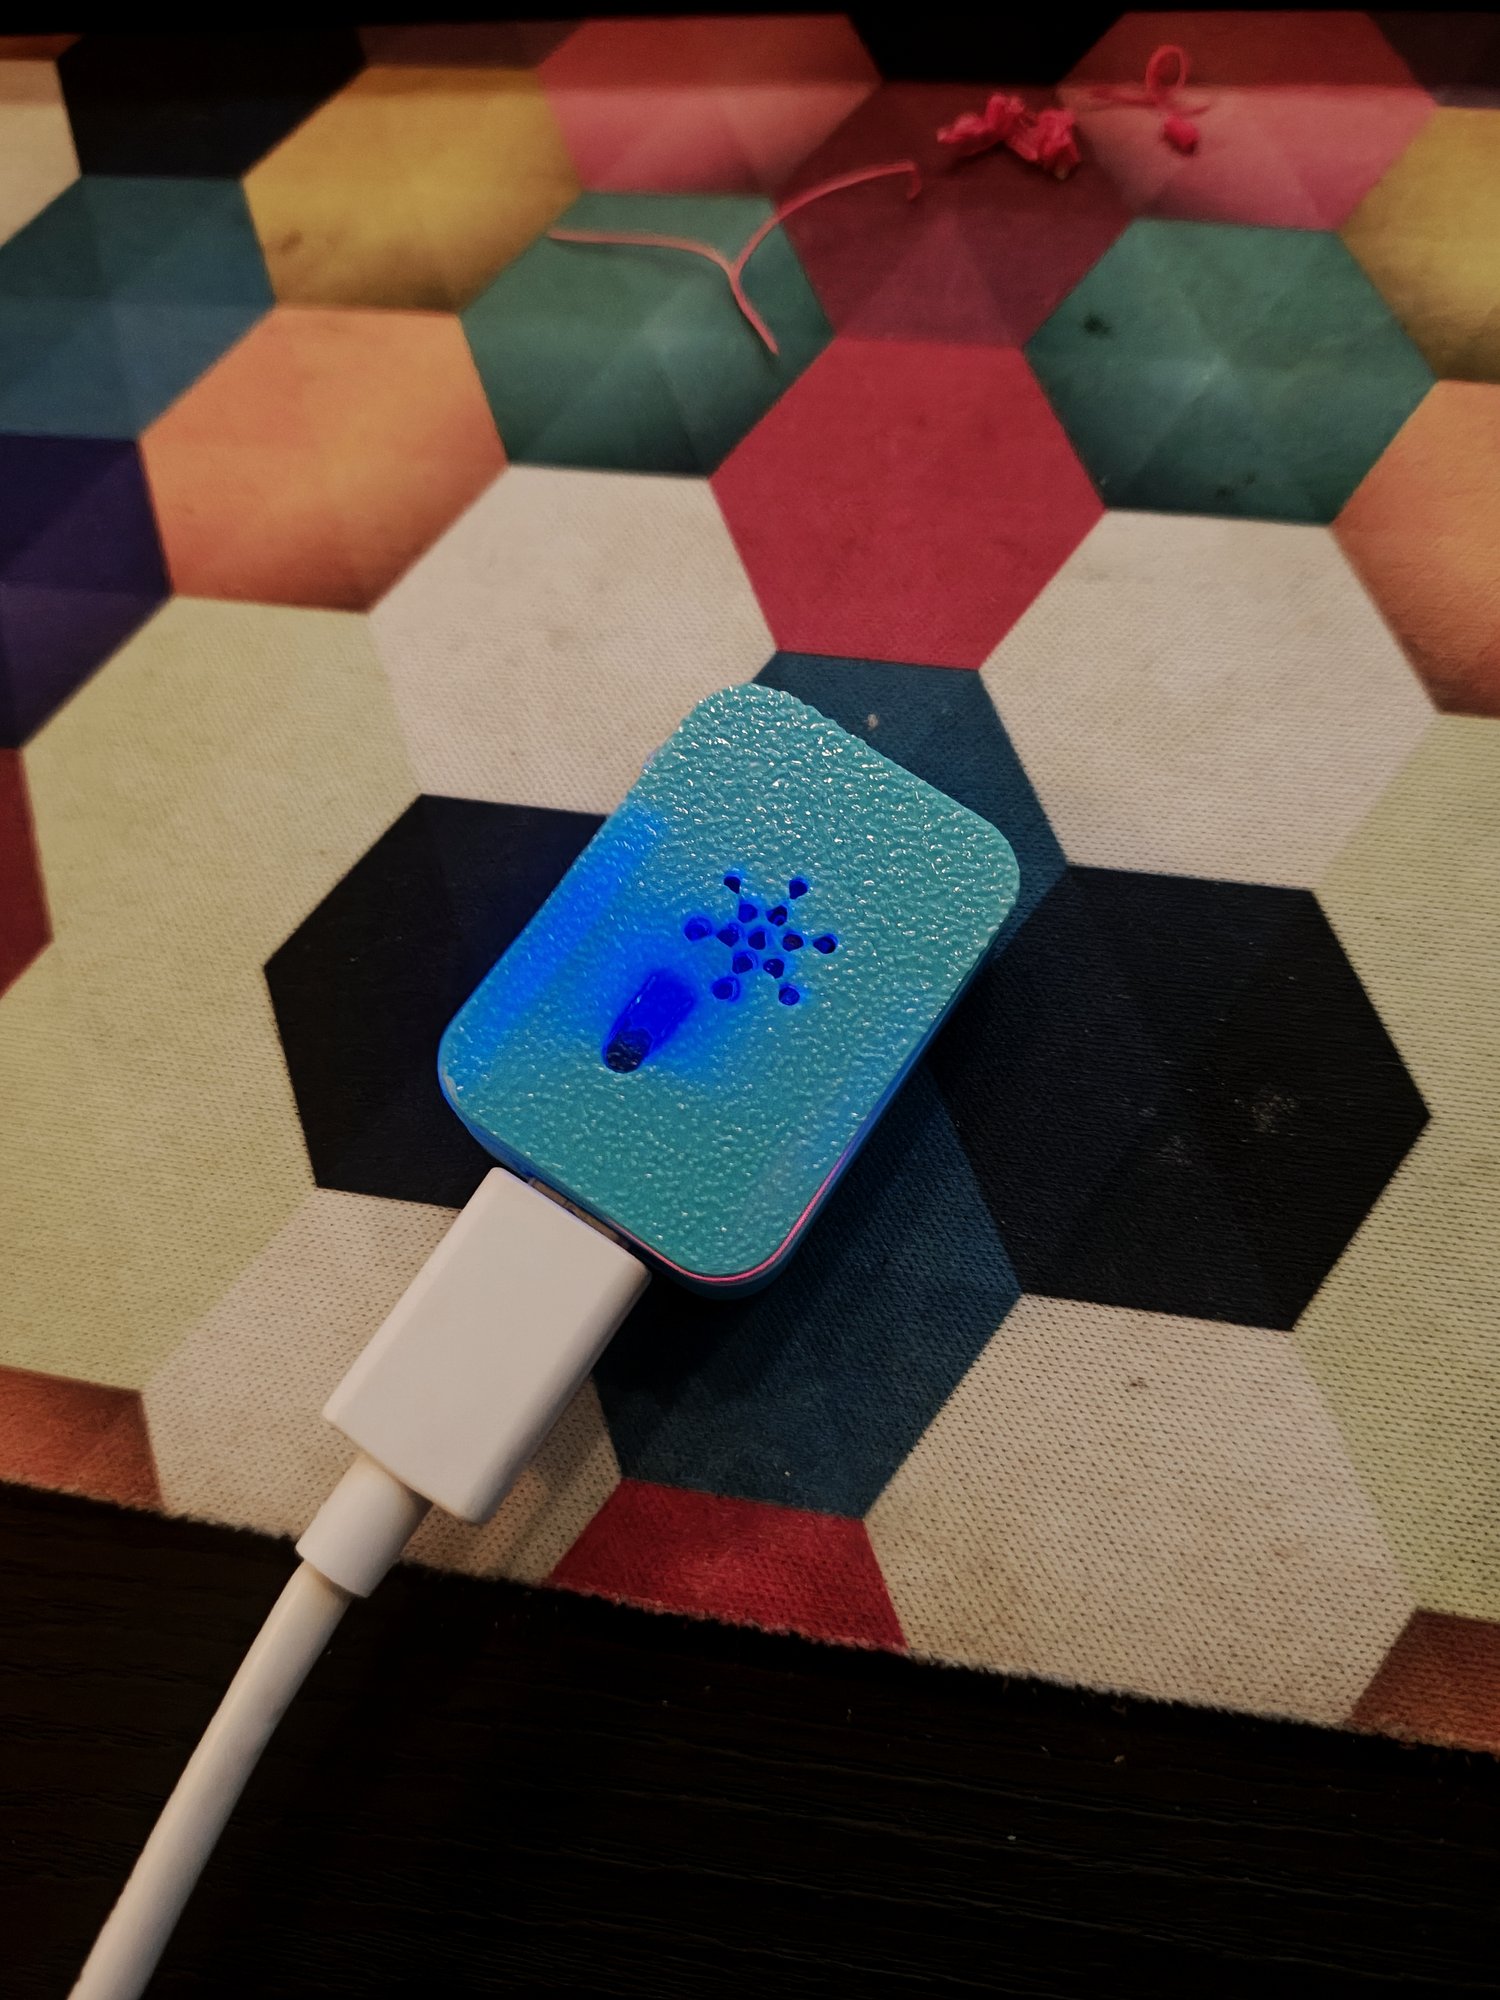
Then the page moves onto their home screens, and if the first press does what it should, this stops being a project and starts being a thing that sits on a wall and quietly works.